Quick Navigation
How to Register
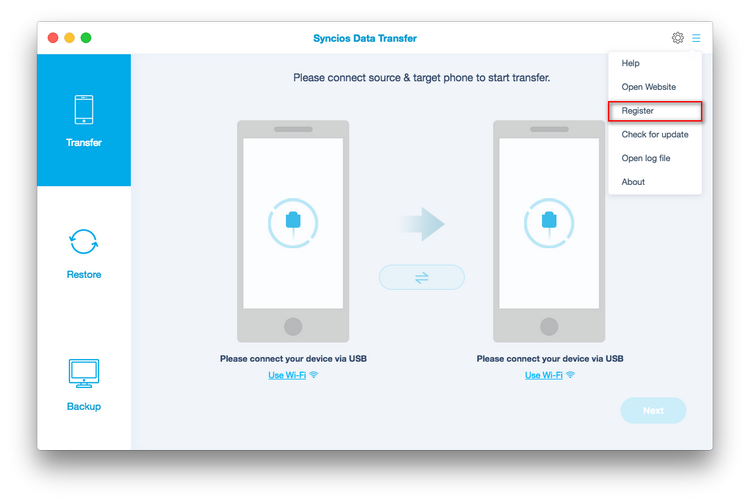
Step 1. Click menu button on the right corner of the program interface
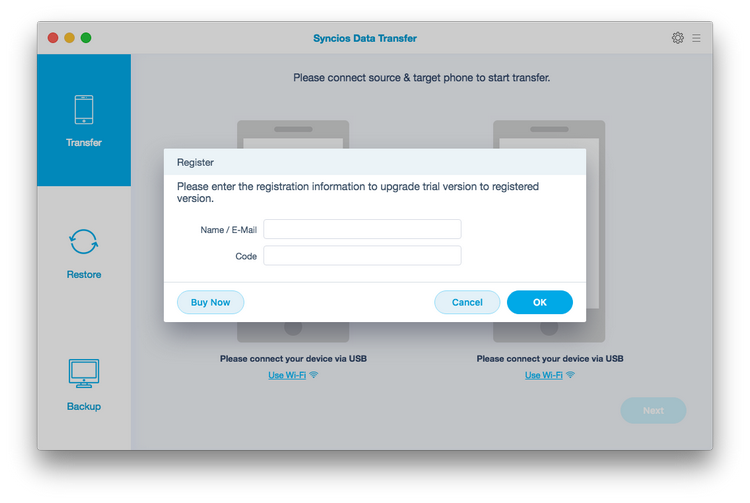
Step 2. Choose Register in the drop-down list, you will get the register window below.
Step 3. Copy and paste the Email and Code into the registration popup dialog.
Note: The registration contents are case sensitive. Please do not add blank at the beginning or the end of the word.
Now, let's learn how to use PanFone Data Transfer.
How to Transfer Contacts, Messages, Music, Photos and More between iOS and Android Phones
Step 1: Connect Two of Your Devices to Computer
Run the Data Transfer tool on your Mac and you will see main 3 modules in the main window. To transfer content from one to another, choose Transfer mode.
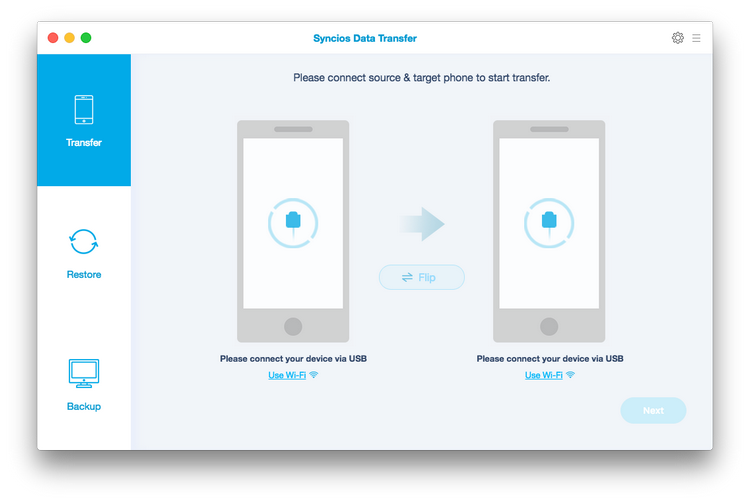
Connect your two devices via USB cables. Once being recognized, your devices will be automatically displayed in the transfer window.
Note:
For Android devices: If you have Android device to be connected, you will be asked to open USB Debugging mode and install driver. When your devices are connected and recognized by the program, your devices will be shown. Please wait patiently.
Your devices will be displayed in "Source" column on the left and "Target" column on the right. You can switch position by clicking the button "Flip" in the middle.
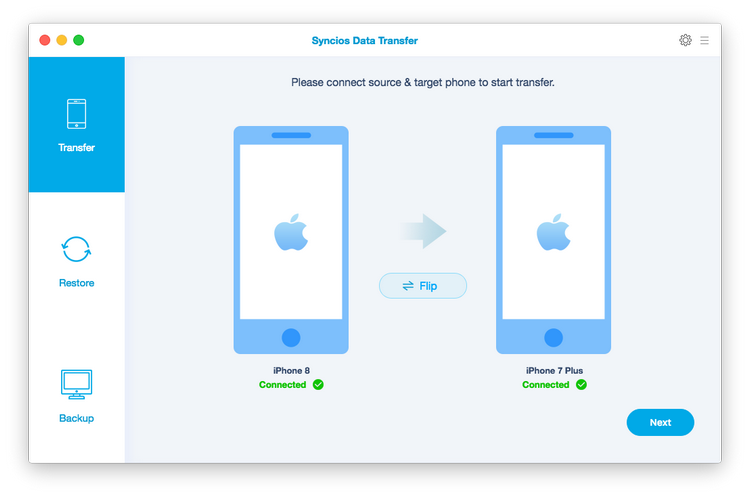
Step 2: Start to Transfer Data from One Phone to Another
After you connected two devices successfully, click on "Next" button. Now, you are allowed to select your desired data to transfer. Check your desired data or select all.
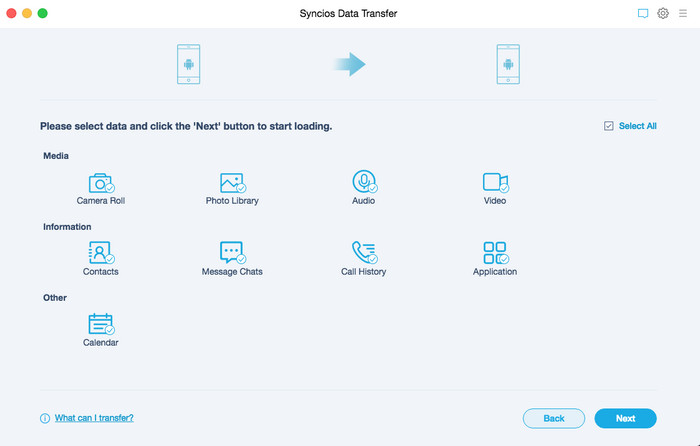
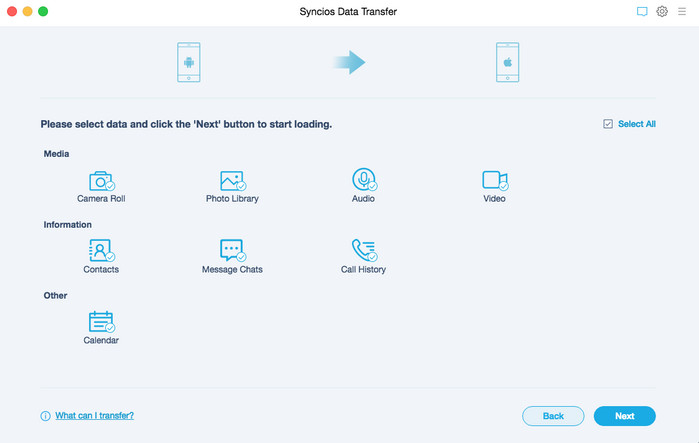
After loading completed, click on "Next" to start transfer process.
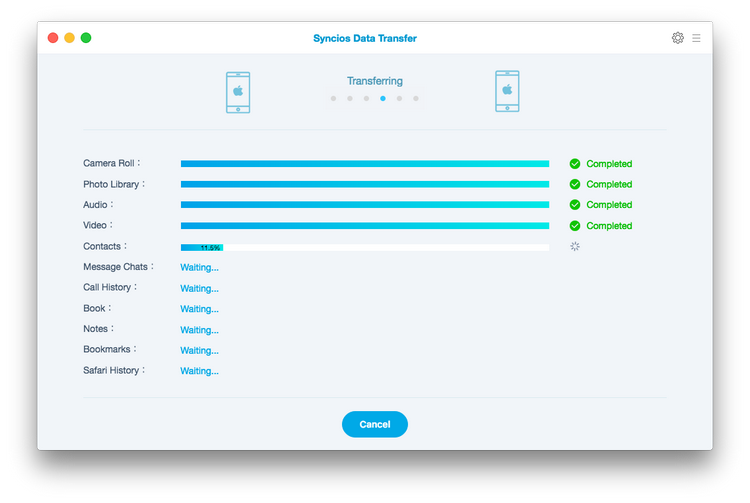
Make sure two devices are well connected to the computer during the whole transferring process. When it is finished, the selected files would be fully copied to your target phone.
How to Backup Mobile Phone Data to the Computer
Firstly, run the Data Transfer too and select "Backup" mode on the main interface. Connect your devices to the computer via USB cable. You can customize the backup folder on the main interface.
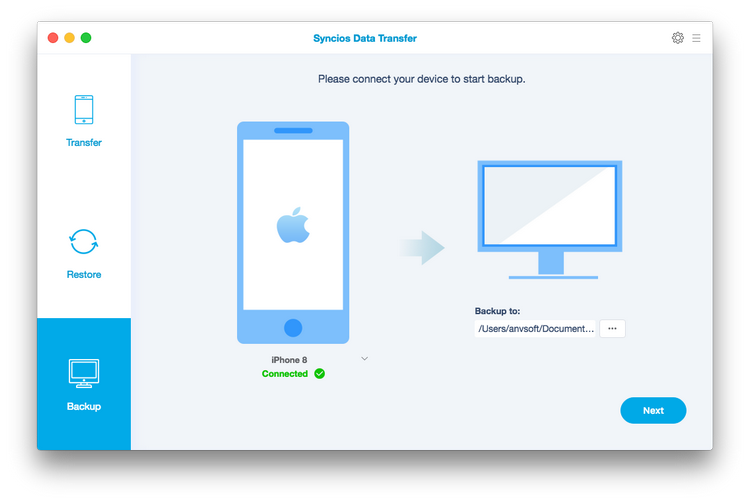
Then click on the "Next" button. And you can select your desired data to transfer. Check your desired data or select all.
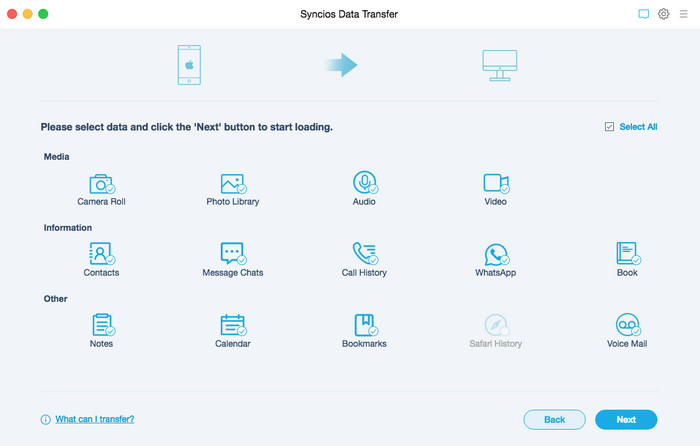
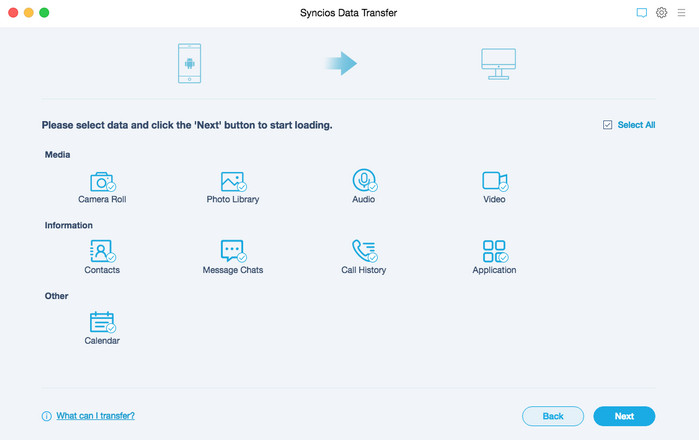
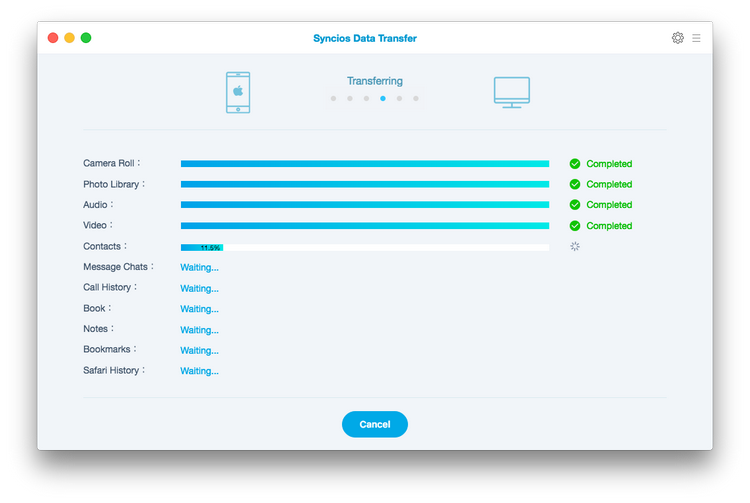
After the loading is completed, click on the "Next" button again to start the backup process. After a while, all selected contents will be backed up to your computer.
How to Restore Data from Local Backup File
Run PanFone Data Transfer and select "Restore" mode on the main interface. Connect your device to the program and select "Local Backup".
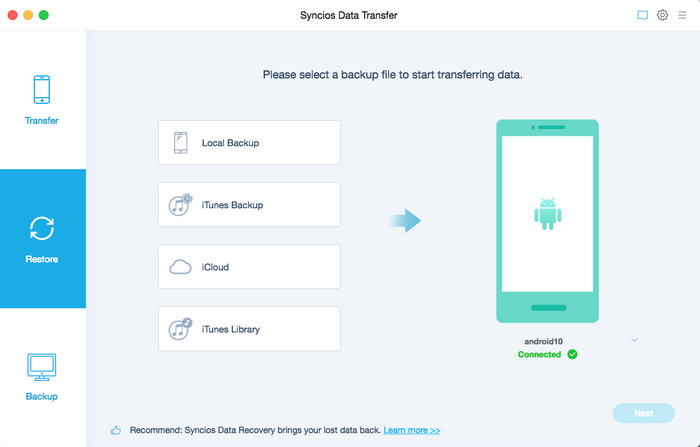
This Data Transfer tool will list all the backups you have made.
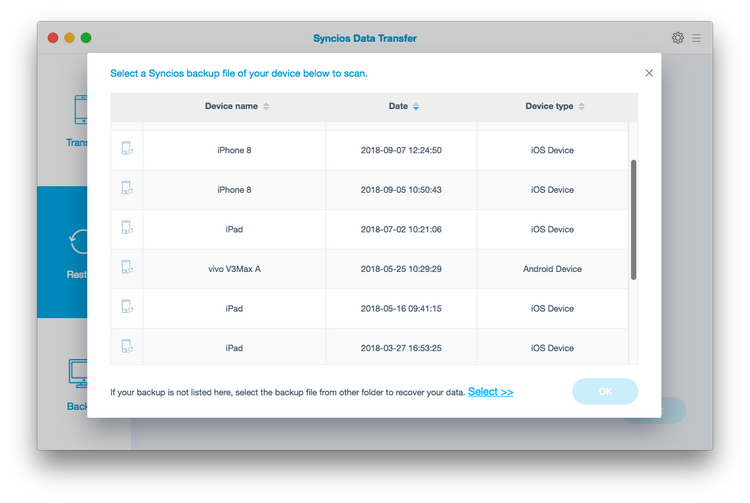
Choose one and click on "OK" to continue. Hit "Next" and then select desired file type to restore.
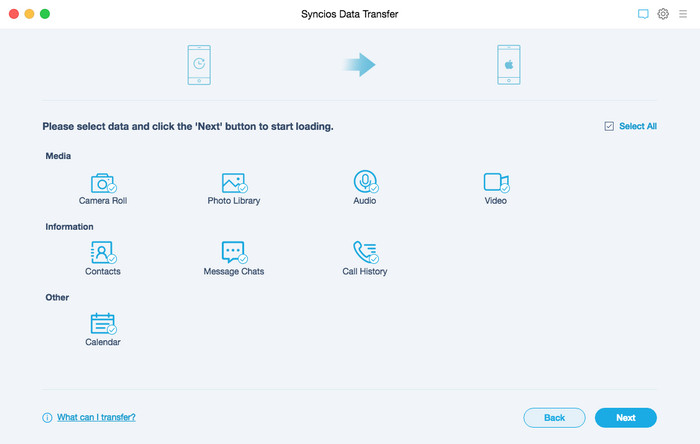
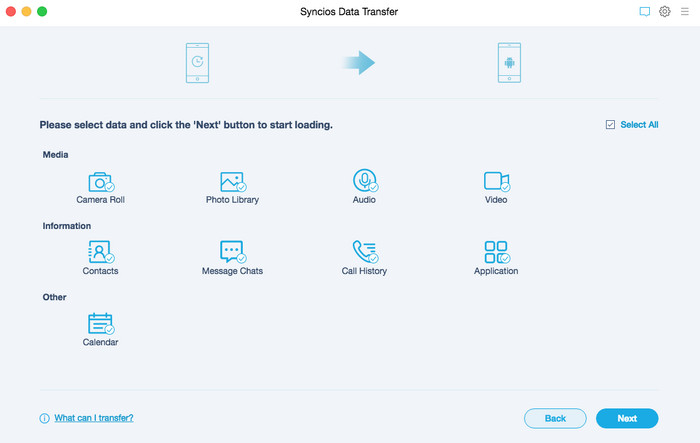
After a while, the Data Transfer will restore all of the selected backed up data from the computer to your mobile device.
Restore Data from iTunes Backup
Run PanFone Data Transfer and select "Restore" mode on the main interface. Connect your device to the program and select "iTunes Backup".

Then the Data Transfer tool will list all the backups you have made.
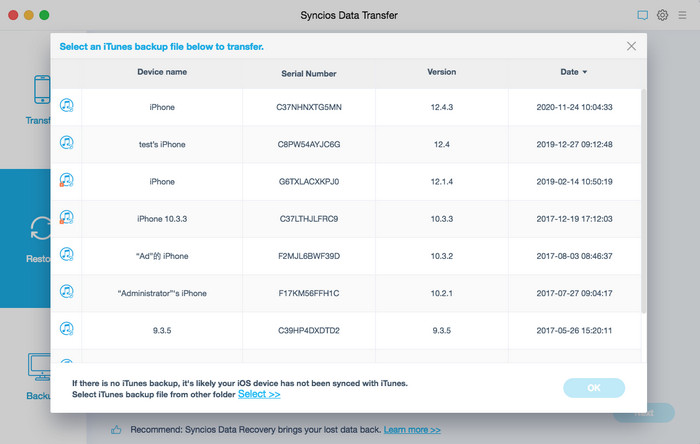
Choose one and click on "OK" to continue. Hit "Next" and then select desired file type to restore.
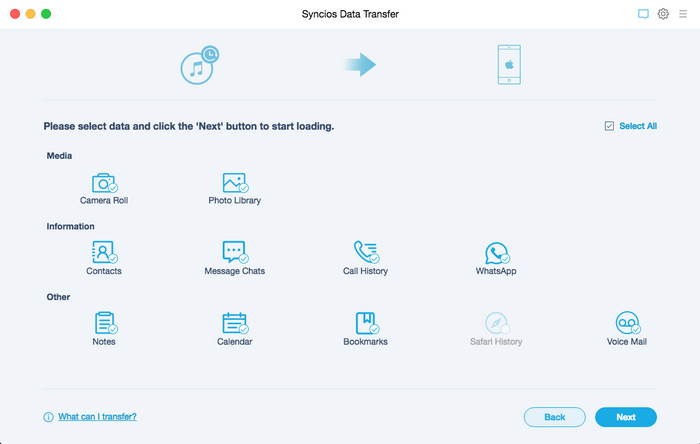
After a while, the Data Transfer will restore all of the selected backed up data from the computer to your mobile device.
Restore Data from iCloud
Step 1: Run PanFone Data Transfer and select "Restore" mode on the main interface. Connect your device to the program and select "iCloud".

Step 2: Enter your iCloud account to sign in.
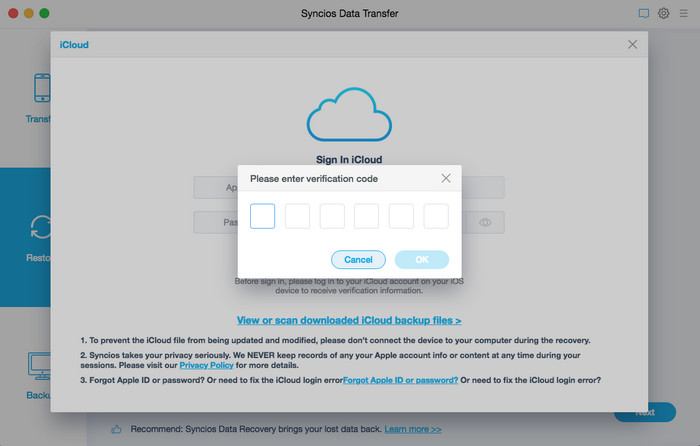
Step 3: Click on the "Next" option and you can see the supported types of data.
For Android phone: Contacts, Photos, Calendar are supported.
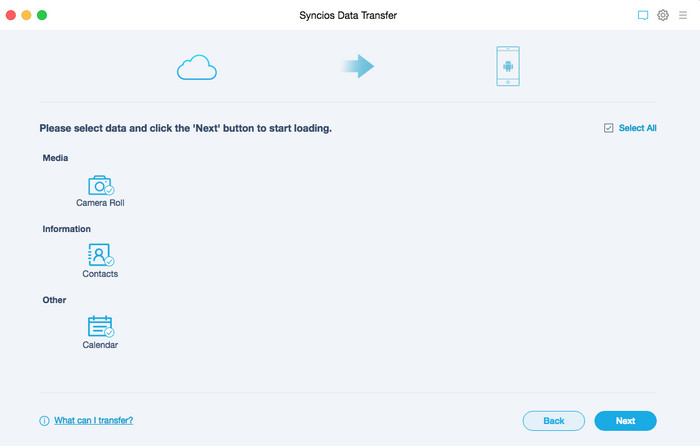
For iOS phone: Contacts, Photos, Calendar, Note are supported.
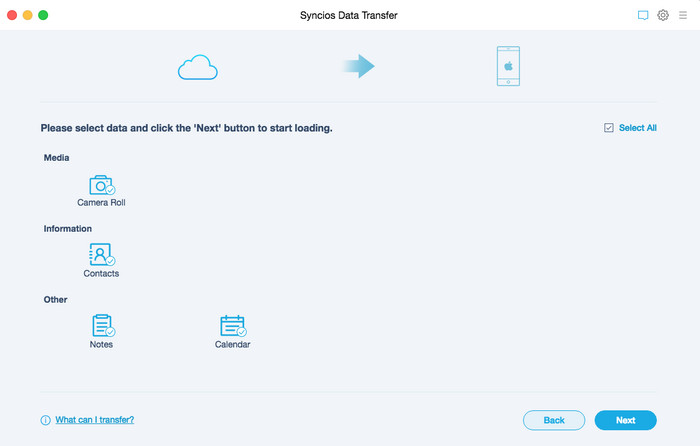
Step 4: Choose the one you want to access and then click on the "Next" button to start downloading. If it’s the first time you download the iCloud data or the file amount is large, it will take some time. Please wait till complete.
Step 5: Once the data is loaded completely, just choose the files you want and then click on the "Next" button to restore to the mobile phone.
Restore Music & Videos from iTunes Library
To transfer music or videos from iTunes Library to an Android or iPhone, go to "Restore" and choose "iTunes Library".

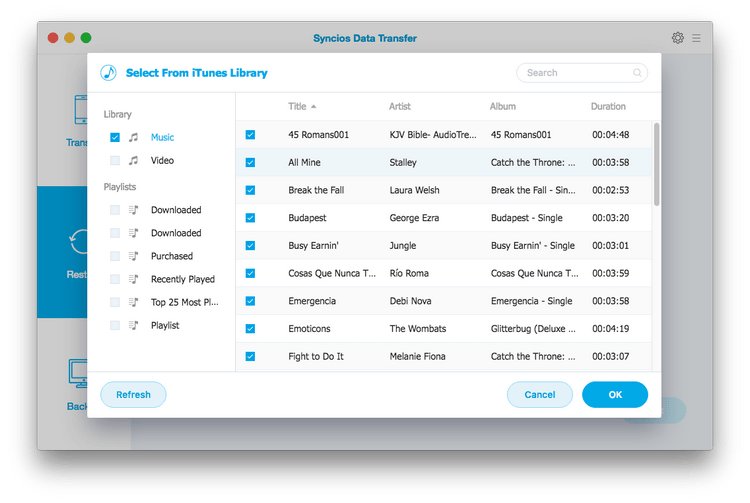
Click to find a pop-up, and PanFone will automatically scan and load your music, videos and playlists that from iTunes Library. Check what you want and click on "OK" to start transferring.
