![]() Cross-platform transfer solution for all smartphone users to transfer content between Android and iOS, transfer data from iTunes, iCloud, iTunes library to mobile phone.
Cross-platform transfer solution for all smartphone users to transfer content between Android and iOS, transfer data from iTunes, iCloud, iTunes library to mobile phone.
How to Backup Android phone before Upgrading to Android 10
Google has officially renamed the upcoming Android Q to Android 10. The final beta for Android 10 was released earlier this month and it shouldn’t be long before Android 10 officially launches. We've been exploring new features in Android 10 ever since the Developer Preview 1, and we're now in the final beta version. There are privacy improvements, a new dark mode, and even a mechanism that will allow significant system updates to be installed through the Google Play Store, so there's plenty to get excited about.
In this article, we are going to talk about how to get Android 10 now as well as how to backup Android phone before upgrading to Android 10.
 Part 1. How to Make A Backup before Upgrading to Android 10
You haven’t been backing up? Then do this first. Back up your Android phone now before upgrading to Android 10. PanFone Mobile Data Transfer makes it easier to backup your Android phone in one click. This mobile phone backup tool gives you ability to back up phone data including photos, contacts, audio, video, SMS messages, call history, application, calendar, etc and you are also allowed to restore the data whenever you need.
![]() PanFone Mobile Data Transfer
PanFone Mobile Data Transfer
PanFone Data Transfer is a one-click solution for you to sync data between iOS & Android, restore iTunes and iCloud data to device conveniently, as well as back up your phone data and restore later.
- Transfer files between Android and iOS, including contacts, photos, music, SMS, and more.
- Backup phone data and restore in lossless quality.
- Recover iTunes/iCloud backup to iOS or Android devices.
- Sync media files from iTunes Library to devices.
Download PanFone Data Transfer:
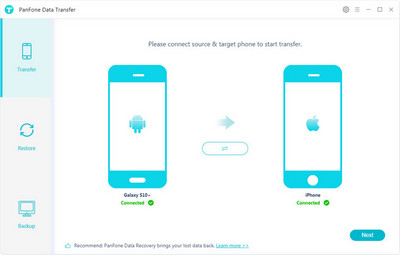
Simple Steps to Back up Android phone before updating to Android 10
Step 1 : Download and install PanFone Data Transfer on your computer.
Step 2 : Launch this program and connect your Android to computer.
Get your Android connected to computer with an USB cable, PanFone would detect your phone automatically.
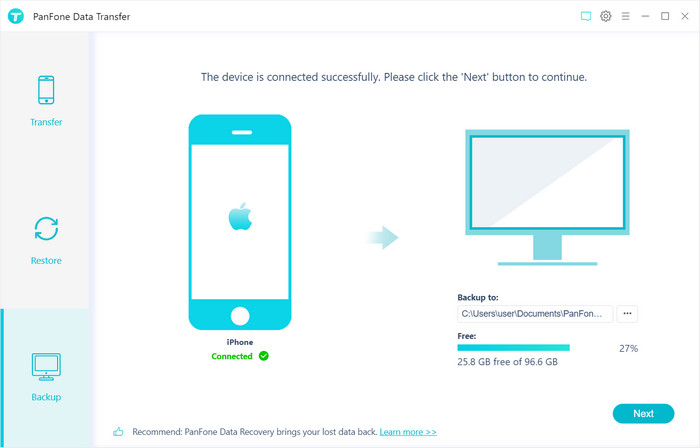
Step 3 : Select Backup Option to bring up the one-click backup Panel.
Once your Android device is detected successfully, simply go to Backup mode and then hit on Next button to move on.
Step 4 : Select data to backup to computer.
Now, tick the data you want to backup and then click on Next to start loading data.
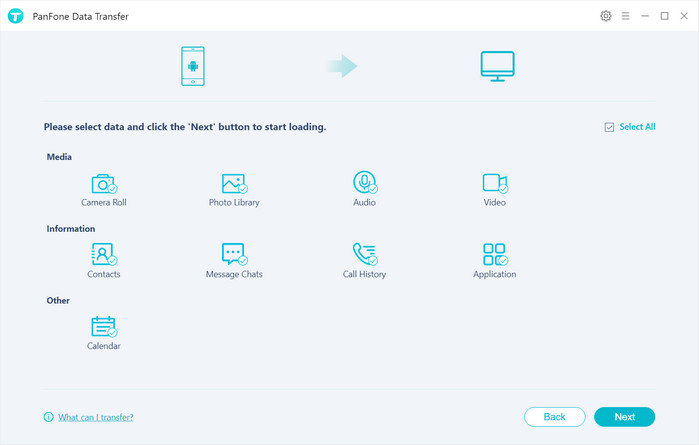
After loading process is completed, click on "next" to start backup process.
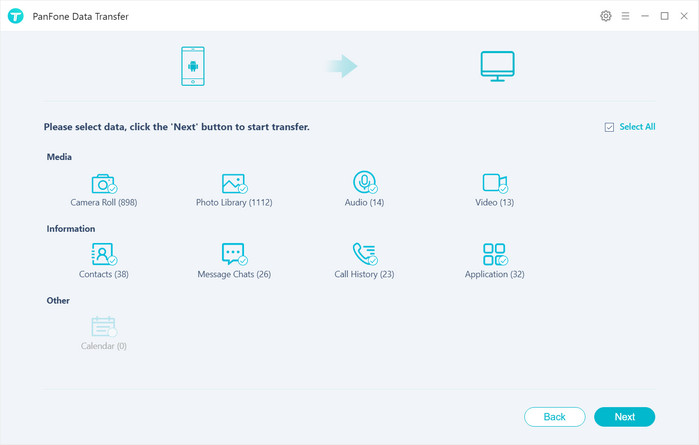
Within minutes, all contents would be transferred from Android phone to your computer.
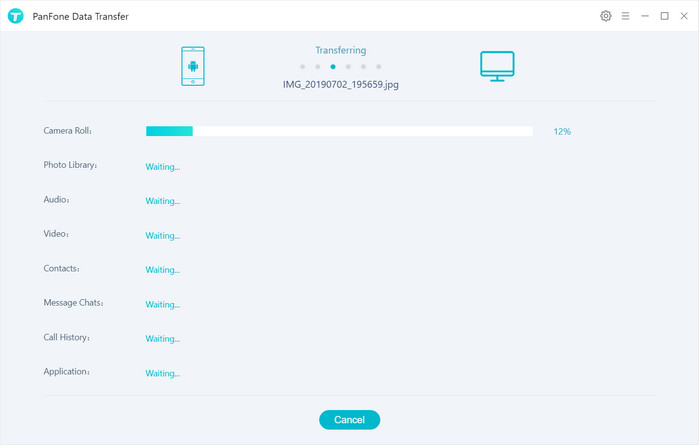
Note: You can restore all the backup from computer to your Android device when you need.
Video Tutorial - Backup Android Phone before Upgrading to Android 10
 Part 2. How to Download Android 10
Thankfully, downloading and installing the Android 10 beta is pretty easy. To install Android 10 right now on your smartphone and test the new features, you can opt for any of the two options. Here’s how to do it:
Join Android Q Beta Program
One way is to get enrolled in the Android Beta program using the link given below.
Step 1 : Head to the Android Beta Program website.
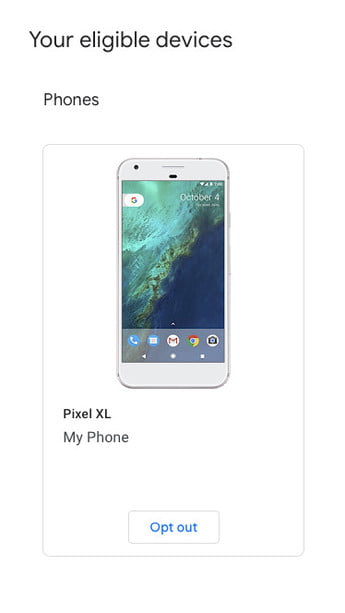
Step 2 : Click Opt In on the device that you'd like to use for the beta. Your device will now be enrolled in the Android Beta Program.
Step 3 : Agree to the terms and conditions of the beta program and press Join Beta.
Step 4 : On your phone, open Settings > System > Advanced > System Updates. Press the Restart Now button, and your phone should install the Android 10 beta.
Flash the Android 10 images manually
The second and more courageous option to try the new Android 10 is manually flashing the Android Q factory images. To do so, follow the steps mentioned on this page carefully.
 Part 3. What Phones Can Get Android 10
With an amazing 25 devices from 13 manufacturers taking part. Google has set up an automatic checker so you can easily see if any devices tied to your Google account are eligible. Here’s the list of phones confirmed to support the Android 10 beta:
- Asus ZenFone 5Z
- Essential Phone
- Huawei Mate 20 Pro
- LG G8 ThinQ
- Nokia 8.1
- OnePlus 7 Pro
- OnePlus 7
- OnePlus 6T
- Oppo Reno
- Realme 3 Pro
- Sony Xperia XZ3
- Tecno Spark 3 Pro
- Vivo X27
- Vivo Nex S
- Vivo Nex A
- Xiaomi Mi 9
- Xiaomi Mi Mix 3 5G
- Google Pixel 3a
- Google Pixel 3a XL
- Google Pixel 3
- Google Pixel 3 XL
- Google Pixel 2
- Google Pixel 2 XL
- Google Pixel
- Google Pixel XL
As the process goes on, more and more devices from third-party manufacturers will likely get in on the action too.
Hopefully, you have learnt how to download and install Android 10. Before upgrading to Android 10, making a backup for your Android phone is necessary. Any other questions, please feel free to share your comments below!
Download
Win Version
Download
Mac Version