![]() Cross-platform transfer solution for all smartphone users to transfer content between Android and iOS, transfer data from iTunes, iCloud, iTunes library to mobile phone.
Cross-platform transfer solution for all smartphone users to transfer content between Android and iOS, transfer data from iTunes, iCloud, iTunes library to mobile phone.
![]() > How-To > How to Transfer Photos from iPhone SE 2020 to Computer
> How-To > How to Transfer Photos from iPhone SE 2020 to Computer
How to Transfer Photos from iPhone SE 2020 to Computer
If you have abundant photos stored on your iPhone, you might want to copy them to the computer for freeing up more space for new photos, or just wanna make a backup of the precious photos on your iPhone. This job can be easily done by using iTunes, but it is the least choice for you. Because iTunes doesn't provide you with a convenient and direct way to do it.
Here we will show you the most effective ways on how to transfer photos from iPhone SE 2020 to the computer without iTunes. Read on to get the details.
 Way 1. One-click to Transfer All Photos from iPhone SE 2020 to Computer
Here we would like to recommend a professional program - PanFone Data Transfer to directly export all photos from your iPhone SE 2020 to the computer in Windows 10/8.1/8/7 within one click. In addition, you can back up and transfer contacts, messages chats, call history, application, calendar, video, music from iPhone SE to the computer. What's more, you are allowed to restore the backup photos from your computer to iPhone SE 2020 or other iOS/Android devices whenever you need them.
Download
Win Version
Download
Mac Version
Simple Steps to Copy All Photos from iPhone SE 2020 to Computer
Step 1 : Download and install PanFone Data Transfer on your computer.
Step 2 : Launch this iPhone photos transfer program and connect your iPhone SE to the computer with a USB cable. Then, PanFone would detect your device automatically.
Note: If you encounter any detection problem during the process, please click here to get help.
Step 3 : Once your iPhone SE gets recognized successfully, select the Backup option and then click on the Next button to move on.
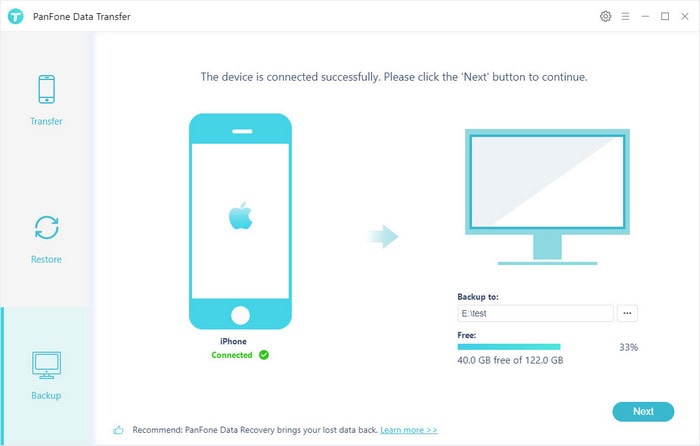
Note: In this interface, you can see the default save path and the remaining storage space below the computer icon. And if this path doesn't have enough space, you can change it by clicking the three dot button.
Step 4 : Tick off the "Camera Roll" and the "Photo Library" on the checkbox, then click on the "Next" to start loading.

Once the loading process is done, click on "next" to start the backup process. After a while, your photos will be transferred from iPhone SE to the computer.
Note: Do not disconnect the phone from the computer during the whole data transfer process.
Way 2. Selectively Transfer Photos from iPhone SE 2020 to Computer for Free
Another alternative way to move photos from your iPhone SE 2020 to the computer is using a free mobile phone data management tool - PanFone Manager. As a handy mobile phone manager, it helps you to transfer certain photos in camera roll or photo album you prefer between your iPhone and computer seamlessly. Moreover, it allows you to transfer other contents like contacts, text messages, call logs, music, videos, apps and more from iPhone SE to PC or laptop.
Three Steps to Move Photos from iPhone SE 2020 to Computer
Step 1 : Download and install this Free Mobile Phone Manager on your computer.
Step 2 : Run this program and connect your iPhone SE to the computer with a USB cable and PanFone would recognize your device soon.
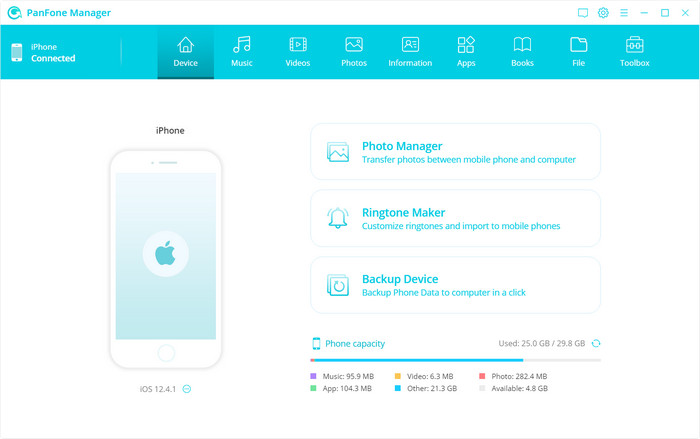
Step 3 : Select photos or albums you need to transfer to your computer.
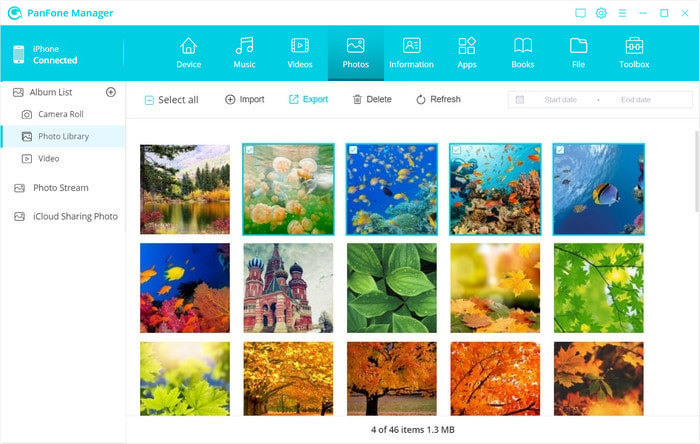
After your iPhone SE is detected successfully, navigate to the Photos tab on the top menu bar. All albums will be displayed on the main window. Simply double-click a certain album and then you can view all photos in this album. Just select the multiple photos you need and click on the Export button. The photos will be copied over to your computer within minutes.
Instead, to transfer certain photo album, single-click to choose this album and click on 'Export' > 'OK' to transfer.
Way 3. Transfer Photos from iPhone SE 2020 Using Photos App on Windows 10
If you own a PC running Windows 10, you can take this method to transfer photos from iPhone SE to PC running Windows 10 using the Photos app. You even can also edit and share your photos.
Let's see how to transfer photos from iPhone SE 2020 to the computer via the built-in Photos app.
Step 1 : Connect your iPhone SE to the computer with a USB cable.
Step 2 : If it is your first time to connect your device to this computer, you will need to tap "Allow" on your iPhone to allow the computer to access the iPhone.
Step 3 : Open the Photos app on your PC by using the Windows "Start" menu or search bar.
Step 4: After the Photos app is opened, click the "Import" button in the upper right corner of your screen. In the drop-down menu, just select the "From a USB device."
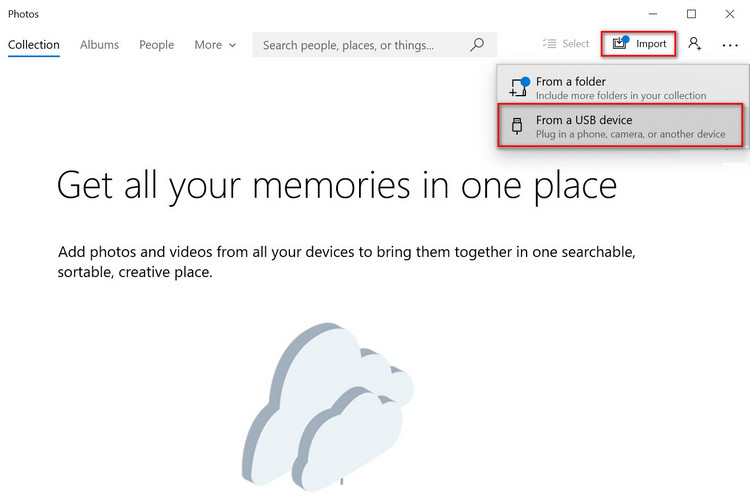
Step 5: Select the pictures you want to transfer to Windows 10 and click on the "Import" button to start the transfer.
The three methods listed above allow you to transfer photos from iPhone SE 2020 to computer without iTunes. These methods also work well on other iOS devices. If you wanna transfer specific photos and do simple photo organization, PanFone Manager is recommended. If you have too many photos need to be transferred, PanFone Data Transfer is a great choice.
Download
Win Version
Download
Mac Version