![]() Cross-platform transfer solution for all smartphone users to transfer content between Android and iOS, transfer data from iTunes, iCloud, iTunes library to mobile phone.
Cross-platform transfer solution for all smartphone users to transfer content between Android and iOS, transfer data from iTunes, iCloud, iTunes library to mobile phone.
Best Way to Back up And Restore OPPO Reno 3
Backing up data and files on your smartphone is an important step to consider if you don’t want to suffer from data corruption or loss. If you've upgraded your old mobile phone to the new OPPO Reno 3, making a backup of your OPPO smartphone can be a lifesaver and handy if you ever need to restore lost data. In this article, I would like to show you a quick and easy way to back up and restore OPPO Reno 3 effortlessly.
 One-click to Back up And Restore OPPO Reno 3
When it comes to OPPO Reno 3, backing up data has never been easier before. A third party tool - – PanFone Data Transfer should help you a lot. This professional Android Data Backup and Restore Software is an all in one solution that supports file backup as well as data restoration from a backup file. With this tool, you can back up all data including contacts, photos, messages chats, call history, application, calendar and more from OPPO Reno 3 to the computer and then restore the backed up data from computer to the OPPO Reno 3 whenever you need them. In addition, this software works well on all Android phone models including Google Pixel, Samsung, Nokia, LG, Sony, HTC, Huawei, Oppo, Vivo, Xiaomi, etc. What's more, it enables you to restore data from iTunes/iCloud backup to the OPPO Reno 3.
![]() PanFone Data Transfer
PanFone Data Transfer
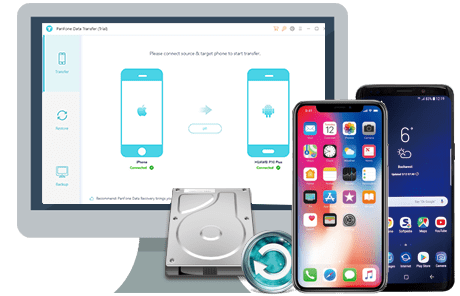
PanFone Data Transfer is a one-click solution for you to sync data between iOS & Android, restore iTunes and iCloud data to device conveniently, as well as back up your phone data and restore later.
- Transfer files between Android and iOS, including contacts, photos, music, SMS, and more.
- Back up phone data and restore in lossless quality.
- Recover iTunes/iCloud backup to iOS or Android devices.
- Sync media files from iTunes Library to devices.
Download PanFone Data Transfer:
Here is the step by step guide on how to back up and restore OPPO Reno 3 phone. Let's have a look at the steps.
Steps to Back up Data from OPPO Reno 3 to Your Computer
Step 1 : Firstly, download and install PanFone Data Transfer on your computer.
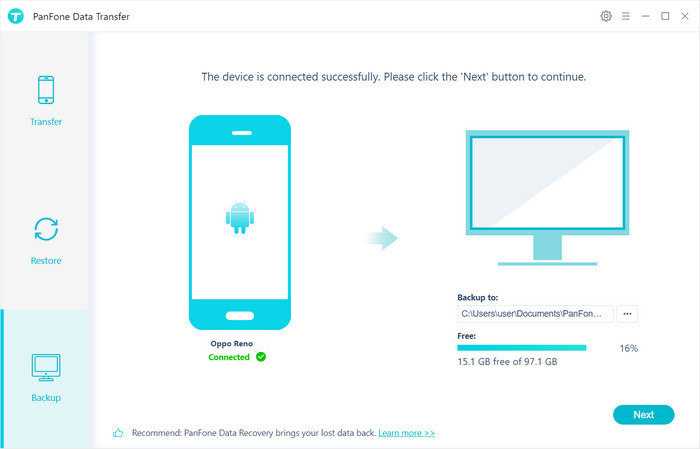
Step 2 : Launch this OPPO Reno 3 backup and restore program, then connect your OPPO Reno 3 to the computer.
Get your OPPO Reno 3 connected to the computer with a USB cable or Wi-fi, PanFone would detect your phone automatically.
Step 3 : Select Backup Option to bring up the one-click backup Panel.
Once your OPPO Reno 3 is recognized successfully, simply navigate to the Backup mode and then click on the Next button to go ahead.
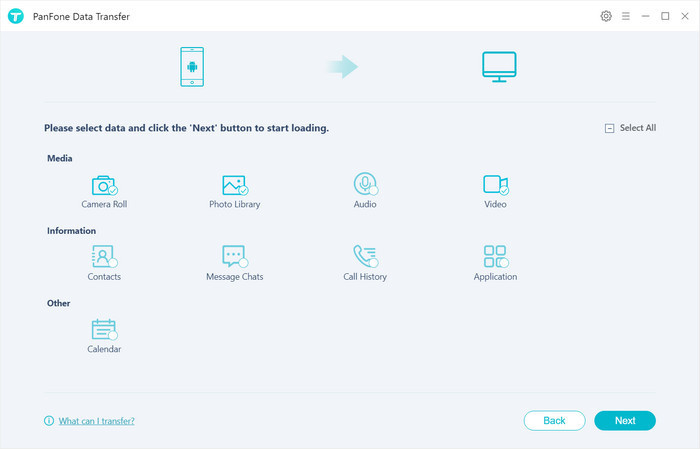
Step 4 : Select data to transfer from OPPO Reno 3 to the computer.
Now you can see, all camera roll, photo library, video, audio, messages, contacts, message chats, call history, application, calendar on your OPPO Reno 3 are supported to be backed up. Simply select the data you want to back up and then tap on the Next button to start loading.
After the loading process is completed, click on "next" to start the backup process.
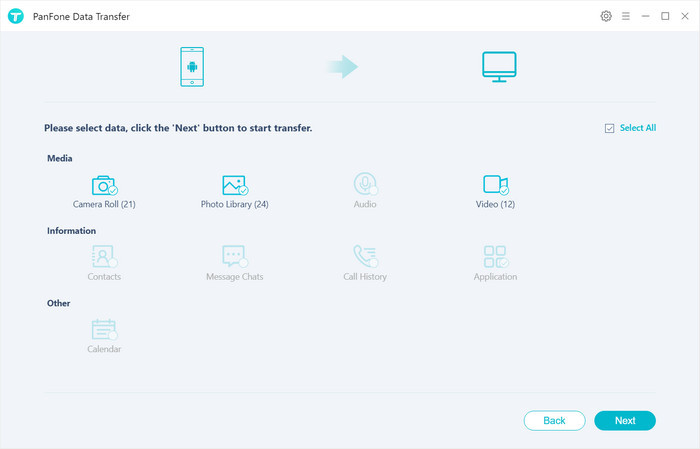
The backup process may take a while (depending on your data volume). Just keep your OPPO Reno 3 connected and do not operate on the phone during the backup process. When the backup finished, you can view the backed up contents on your computer.
Two Steps to Restore The Backup File from Your Computer to OPPO Reno 3
With this OPPO Backup and Restore tool, you can restore your videos, photos, Apps, Calendars, music, call logs and contacts from your backup to the OPPO Reno 3. The following steps show how you can restore your data back to your OPPO Smartphone.
Step 1 : Go back to the main interface of PanFone Data Transfer and select the Restore option.
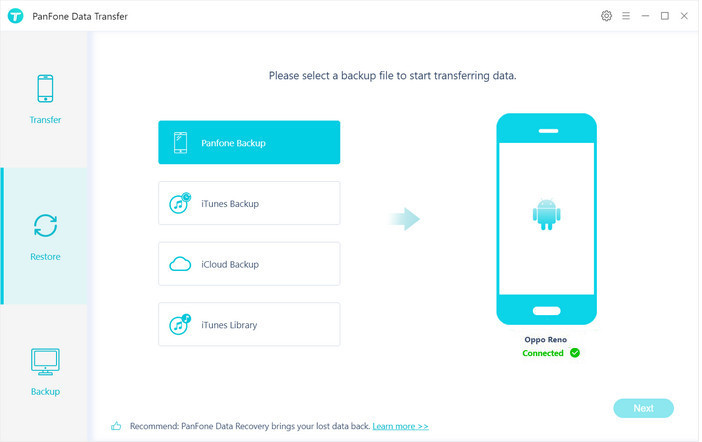
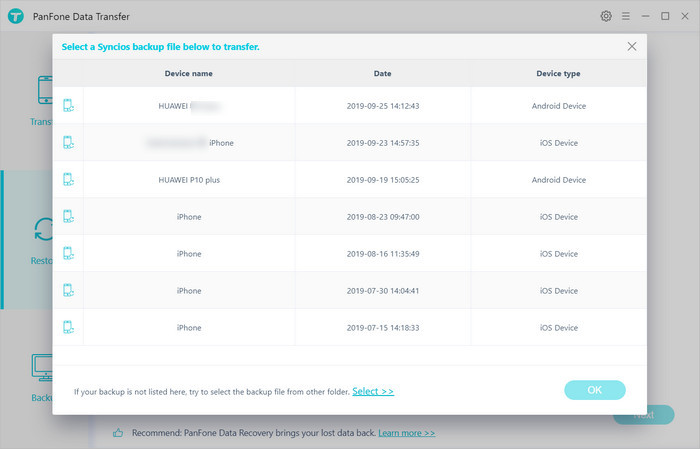
Step 2 : Select "PanFone Backup" on the middle of the panel, PanFone Data Transfer will display all backups you made previously. From there, you can select the backup file that you need and hit on "OK" to continue, then hit "Next" and select data to restore.
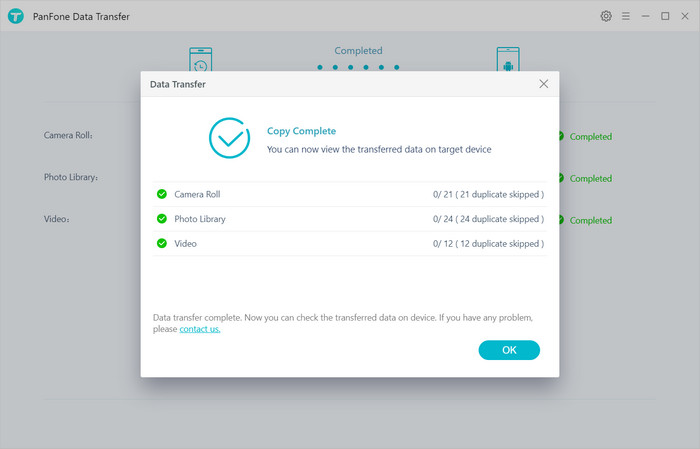
After a while, PanFone will restore all of the backed up data from the computer to your OPPO Reno 3.
OPPO Reno 3 data backup and restore can be done in many ways, however the most convenient so far is to use PanFone Data Transfer. You can simply back up all the data inside the phone in just one click and restore them the same way! Just free download and try PanFone Data Transfer!
Download
Win Version
Download
Mac Version